The secret to a truly professional-looking photo often has nothing to do with the camera or the editing software. The real magic happens before you even pick up the camera. It’s all about laying the groundwork—thinking through wardrobe, finding the right spot, and handling the little details that make a huge difference.
Mastering these fundamentals is what separates a good snapshot from a great portrait. It ensures everything in the frame works together to create that polished, high-end feel you're after.
Mastering the Fundamentals Before You Shoot
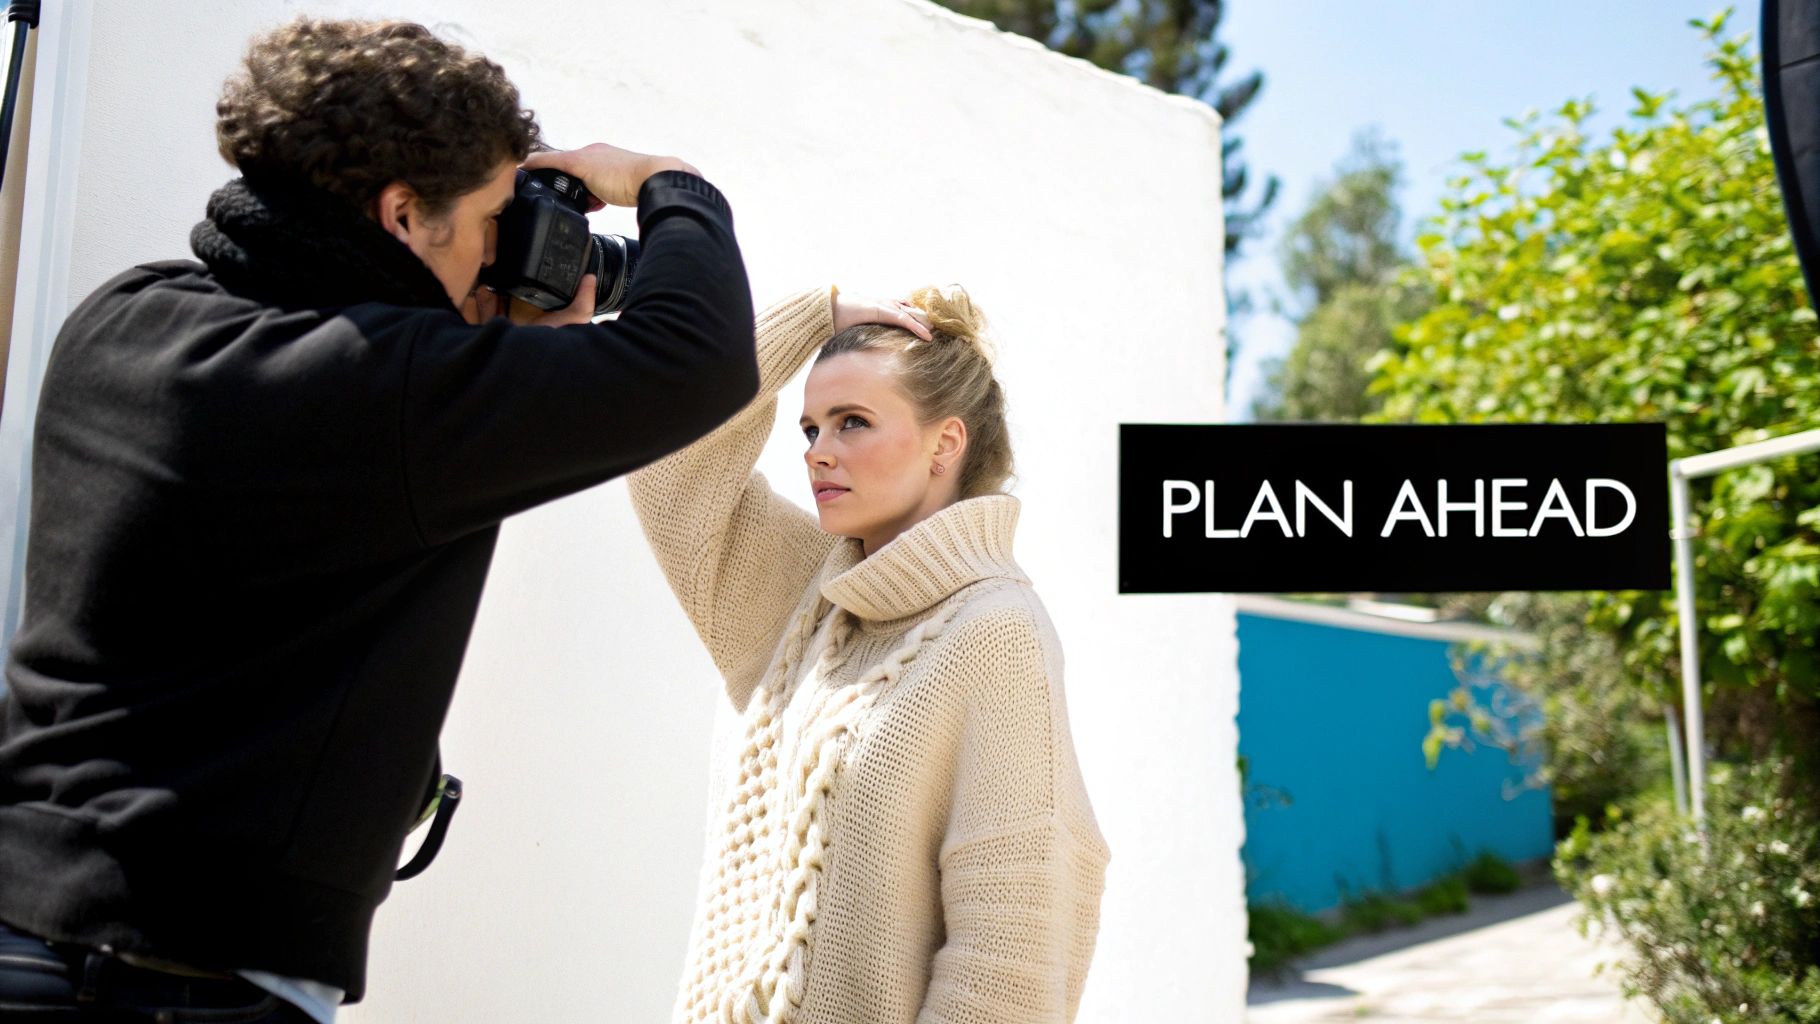
It’s easy to think that a great photo is all about fancy camera settings or expert-level Photoshop skills. And while those things are important, the best photographers know that killer results start with careful planning. Putting in the work beforehand not only saves you a ton of headaches in post-production but also dramatically elevates the quality of your final images. Think of it as setting the stage for success.
Guiding Wardrobe Choices
What your subject wears can make or break a photo. It’s not just about finding a nice outfit; it’s about choosing clothes that photograph well and support the overall mood.
Steer your subjects away from anything too distracting. That means busy patterns, big logos, and loud neon colors are usually out. They pull the viewer’s eye away from what really matters: the person in the photo.
Instead, point them toward solid, neutral colors. Think beige, navy, olive green, or gray. These classic tones look great on camera, flatter most skin tones, and don't overpower the scene. Also, don't forget about texture! A chunky knit sweater or a simple linen shirt can add a ton of depth and visual interest that plain cotton just can't match.
Here are a few quick tips to share:
- Choose texture over patterns: Fabrics like wool, corduroy, and denim add beautiful dimension.
- Coordinate with the location: Suggest a color palette that complements the background.
- Fit is everything: Ill-fitting clothes—whether too tight or too baggy—can ruin a great pose.
The Art of Location Scouting
Your background isn’t just a background; it’s a crucial part of the story. A cluttered or messy environment is one of the fastest ways to make a portrait feel amateur. The goal is to find a location that complements your subject, not competes with them for attention.
Keep an eye out for places with clean lines, interesting textures, and, most importantly, good light. You don’t need anything epic. A simple brick wall, an open field, or a minimalist urban corner can be perfect. The key is to look for distractions before you start shooting. Is there a bright red fire hydrant in the shot? A trash can? Just moving a few feet to one side can often clean up a chaotic background instantly.
Professional photography is all about control. Scouting your location lets you control the environment, eliminate distractions, and find the best light and composition before the pressure is on.
Overlooked Grooming Details
Finally, let’s talk about the little things. It’s the small grooming details that often separate a pro shot from an average one. These are the things that are a pain to fix later in editing but are so easy to handle on the day.
Gently remind your subject to make sure their hair is neat and how they want it. For any shots that are remotely close-up, clean and tidy nails are a must. Also, do a quick once-over for lint on dark clothes and check for smudges on glasses. Taking care of these tiny details shows a level of polish and care that really shines through in the final product.
Getting It Right In-Camera
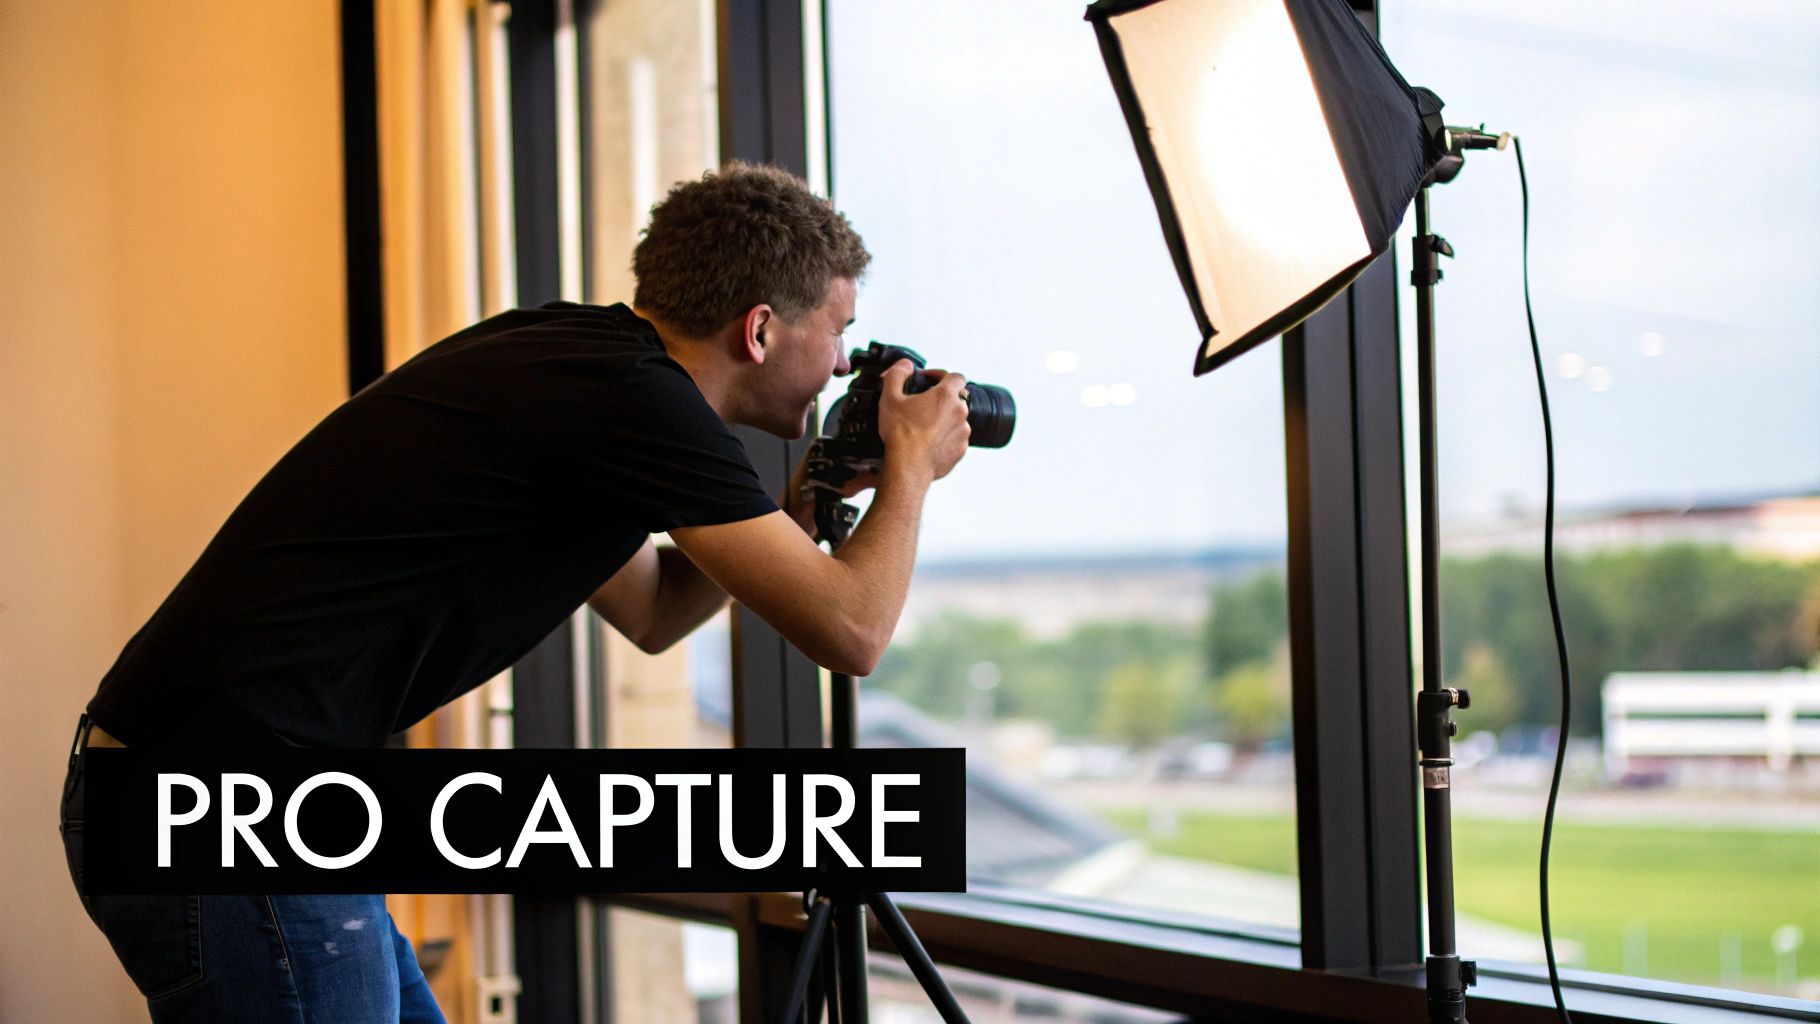
Alright, you’ve done the prep work. Now it's time to actually take the picture. This is where all that planning pays off, letting you capture an image that’s strong from the get-go. Remember, editing can polish a great photo, but it can't save a bad one. Nailing the shot in-camera is what separates the pros from the amateurs, and it will save you a ton of headaches later.
The absolute most important thing to get right? Light. It’s everything. Light sets the mood, defines the shape of your subject, and tells the viewer where to look. You don’t need a fancy studio to get this right—you just have to learn how to see the light that’s already around you.
Finding and Shaping Light
What you're looking for is soft, diffused light. It's the most flattering light for portraits, hands down. A big, north-facing window is a classic for a reason; it gives you this beautiful, gentle glow without creating harsh, distracting shadows. Try placing your subject near the window and have them turn at different angles. Watch how the light falls across their face and sculpts their features.
Once you find good light, you can start shaping it. And no, you don't need expensive gear.
- Reflector: A simple piece of white foam board from a craft store works wonders. Use it to bounce some of that window light back into the shadows on your subject's face. This fills them in just enough and adds that professional "catchlight" sparkle to their eyes.
- Diffuser: Is the sun too harsh? Hang a thin white sheet or curtain in front of the window. This instantly softens direct sunlight, turning a bad lighting situation into a perfect one.
Mastering light is the fastest way to make your photos look professional. A simple subject in beautiful light will always look better than a stunning subject in flat, boring light.
Thinking Beyond Basic Composition
The "rule of thirds" is a good starting point, but let’s move past that. Truly professional composition is about intentionally guiding the viewer's eye through the frame. You're telling a story, not just taking a snapshot.
- Leading Lines: Use what’s already there. A winding path, a fence, or the lines of a building can act as arrows pointing straight to your subject.
- Natural Framing: Look for elements in the environment that can frame your subject, like a doorway, an arch, or even tree branches. This adds a sense of depth and context that makes the image feel more complete.
Get moving! Don't just stand in one spot. Try shooting from a slightly lower angle to make your subject look more confident and heroic. An angle from slightly above can often be more flattering for close-up portraits. Experiment until you find the perspective that tells the story you want to tell.
Nailing Your Camera Settings
Whether you're using a top-of-the-line DSLR or just your phone, a few key settings make all the difference. This technical control is what clients are paying for; it’s how you deliver images with superior color, sharpness, and depth. In fact, this demand for polished, high-quality results is a big reason why the U.S. photography industry's revenue is projected to hit $15.8 billion by 2025. You can dig into more industry insights on the demand for professional photography at IBISWorld.com.
Want that beautiful, blurry background that makes your subject pop? Use a wide aperture—that means a low f-stop number like f/1.8 or f/2.8. This narrows your depth of field and isolates your subject from any distracting background clutter.
To keep your images tack-sharp, you need to watch your shutter speed. A good rule of thumb is to use a shutter speed that's at least double your lens's focal length. So, if you're using a 50mm lens, shoot at 1/100th of a second or faster to avoid blurry images from camera shake. These simple adjustments give you the control you need to create intentional, professional-looking images right in the camera.
The Art of Professional Post-Processing
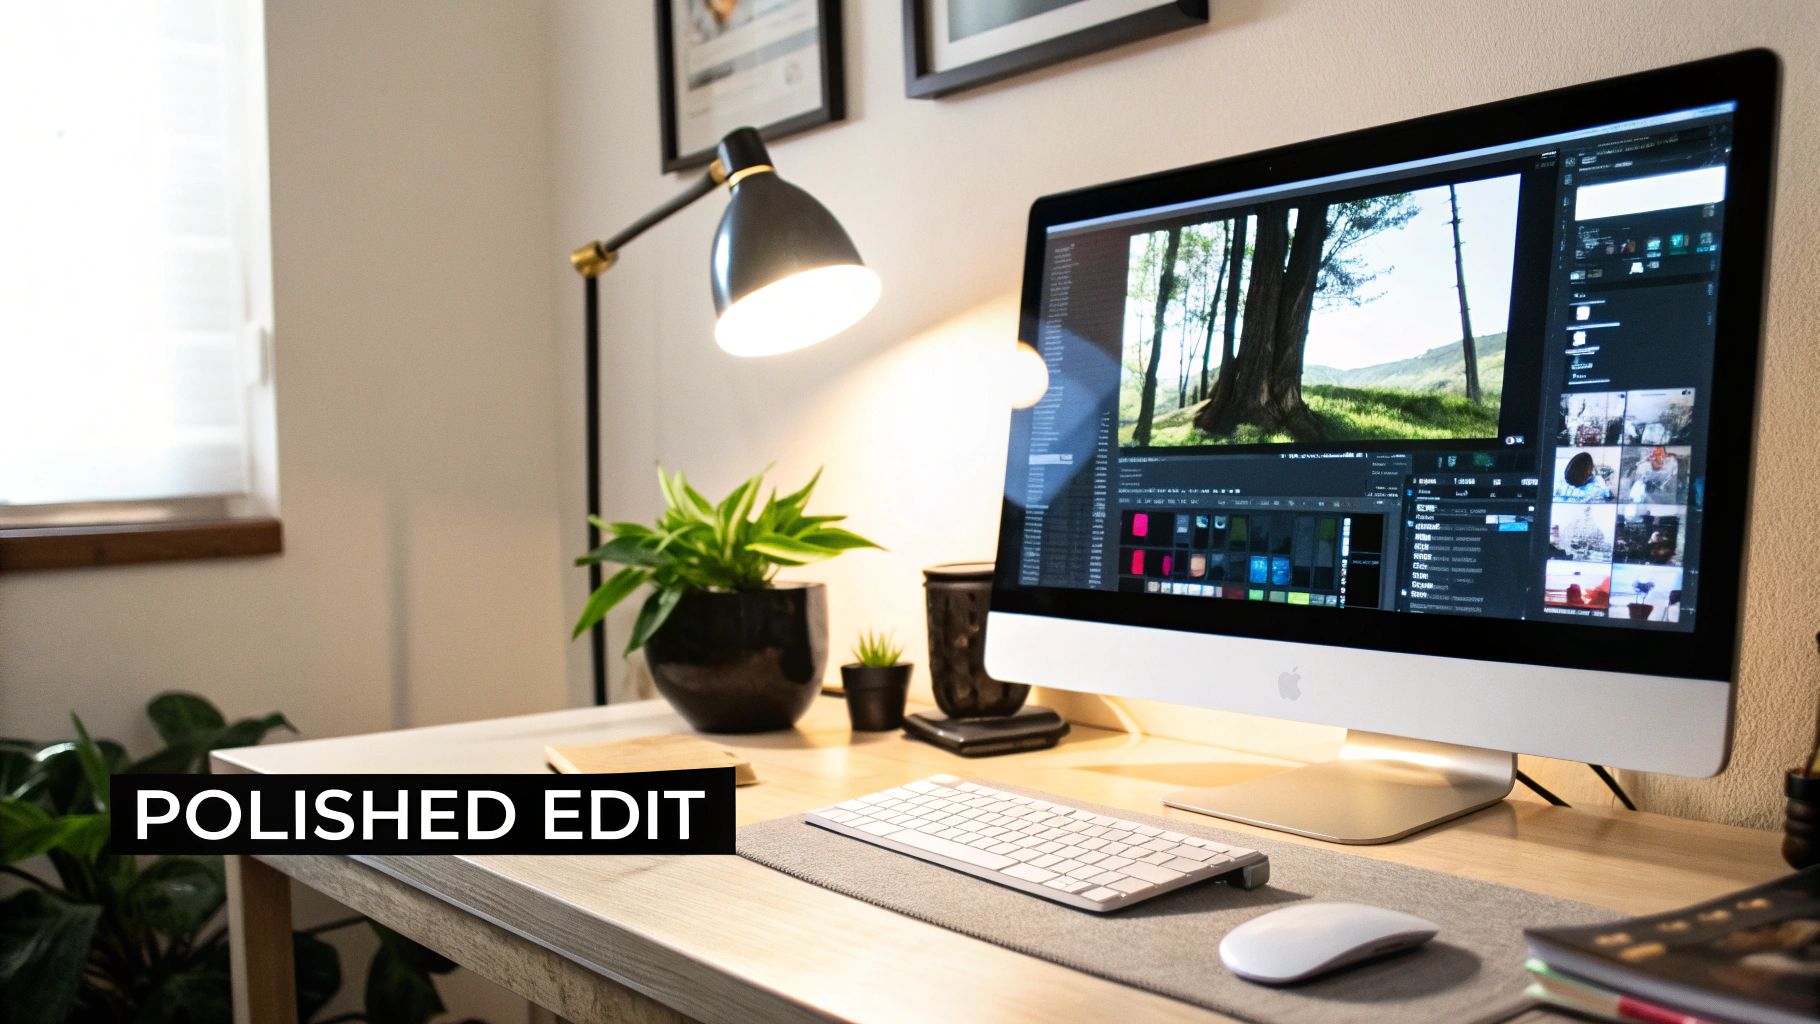
Shooting a great image is only half the job. Honestly, it might be less than half. The real magic, the thing that turns a good photo into a signature piece, happens in the edit. Post-processing is your chance to fix the little things, guide the viewer’s eye, and bake in a consistent style that makes your work instantly recognizable.
The goal isn't to make your images look fake or overcooked. It’s about making a series of intentional, subtle adjustments that bring your original vision to life. This is how you transform raw files into a final product that feels cohesive, deliberate, and high-end.
Building a Clean Foundation
Before you even think about creative effects or color, every professional edit starts with the basics. These fundamental adjustments create a clean, accurate canvas that ensures your photo looks technically sound. If you skip this, everything you do later will be built on a shaky foundation.
First up, nail the exposure. Is the image too bright or too dark? Fix that. Next, dial in the contrast to add some depth and make your subject pop. Finally, correct the white balance. This is a big one. You want the colors to look natural and true-to-life—whites should look white, not tinged with yellow or blue.
A clean, technically correct foundation is non-negotiable. Nailing exposure, contrast, and white balance at the start makes every subsequent edit more effective and prevents you from fighting the image later on.
Subtle Portrait Retouching
When you're working on portraits, the golden rule of retouching is subtlety. Your goal is to enhance your subject's appearance, not create a plastic-looking digital mask. The idea is to preserve natural skin texture while minimizing temporary distractions.
Focus on removing minor blemishes like pimples or small stray hairs. You can also gently soften skin, but be incredibly careful not to overdo it. The best retouching is the kind nobody even notices. A great portrait should still look like a real person, just on their absolute best day.
Here are a few quick tips I've learned for getting natural-looking results:
- Zoom In: You can't make precise adjustments if you're zoomed out. Get in close.
- Use a Soft Brush: When smoothing skin or dodging and burning, always use a brush with a low opacity and flow. Build the effect up gradually.
- Don't Erase Everything: Leave natural features like freckles and fine lines. They add character and keep the portrait authentic.
Transforming Mood with Color Grading
Okay, your photo is clean and retouched. Now for the fun part: color grading. This is where you inject the image with a specific mood and feeling. Color is an incredibly powerful storytelling tool, and a consistent color palette is one of the biggest hallmarks of a professional portfolio.
You could create a warm, golden vibe for a romantic sunset session or a cool, moody blue tone for a dramatic urban shoot. Start playing with tools like split toning, the HSL (Hue, Saturation, Luminance) sliders, and color calibration to find a look that really defines your style. Once you develop a few signature color palettes, your work becomes cohesive and instantly recognizable.
Finalizing with Sharpening and Exporting
Don't stumble at the finish line! The last few steps are just as crucial. Proper sharpening ensures your image looks crisp and clear where it counts. Apply a final touch of sharpening, but make sure you’re only targeting the important details, like your subject's eyes.
Finally, how you export your image matters immensely. Different platforms have completely different requirements. An image destined for a high-resolution print needs a much different file type and color profile than one you're throwing up on Instagram. To make sure your photos look amazing everywhere, you have to export specific versions for each use. For quick tasks like resizing or removing a background for your website, you can use convenient and free photo editing tools. This final step is what ensures all your hard work pays off.
Here’s a quick-reference table to help you keep these core editing steps straight.
Key Editing Adjustments and Their Professional Impact
| Editing Step | Common Issue It Addresses | Desired Professional Outcome |
|---|---|---|
| Exposure & Contrast | Images that are too dark, too bright, or look flat. | A balanced, punchy image with clear separation between subject and background. |
| White Balance | Unnatural color casts (e.g., yellow, blue, or green tints). | True-to-life colors that look natural and clean. |
| Basic Retouching | Temporary blemishes, stray hairs, and distracting elements. | An enhanced but authentic portrait where the focus is on the subject's features. |
| Color Grading | A lack of mood, emotion, or stylistic consistency. | A distinct visual style and mood that supports the story of the photograph. |
| Sharpening & Export | Soft focus or loss of quality when sharing online. | A crisp final image that looks sharp and professional on its intended platform. |
Thinking about each of these steps as a separate, intentional part of your process will dramatically improve the quality and consistency of your work.
2. Using AI for Flawless Photo Consistency
If you want to be seen as a pro, delivering a gallery where every photo has the same cohesive look isn't just a nice-to-have—it's a must. But anyone who has spent hours trying to manually match edits across a set of images knows how soul-crushing and frankly, impossible, it is to get it perfect.
This is exactly where modern editing tools come in and completely change the game.
Imagine this: you edit one single "hero" image to absolute perfection. You nail the color tones, the contrast, the lighting—everything is exactly as you want it. Now, what if you could instantly replicate that signature style across every other photo from the shoot? That’s what AI-driven platforms can do in minutes.
The Magic of Automated Style Matching
We're not talking about slapping on a generic filter here. This is about technology that learns your specific aesthetic. Tools like Looktara can analyze your reference photos to pick up on all the subtle details of your editing, from the warmth in your highlights to the specific blues you use in your shadows.
Here’s a quick peek at how Looktara's interface is designed to make this process incredibly straightforward.
The goal is to generate consistently beautiful portraits without ever stepping into a physical studio, making truly professional images accessible to everyone. It's a fantastic way to build a strong, recognizable style that clients will immediately associate with your brand.
Why Consistency Is a Game Changer
This is about so much more than just saving time. It's about delivering a polished, high-end experience that makes clients feel like they hired a true professional. A recent 2025 industry analysis confirmed this, showing that both photographers and their clients judge professionalism heavily on technical consistency and the quality of post-production.
In fact, the report found that offering professional retouching can boost a photographer's revenue by up to 20% per client. That's a direct financial payoff for investing in a high-quality editing workflow. You can dig into these findings on the value of polished images at Shootproof.com.
Adopting an AI-powered workflow for consistency is one of the most impactful steps you can take. It frees you from hours of repetitive editing and ensures every image you deliver meets the highest professional standard.
For photographers looking to really nail this down, exploring AI photography packs is a great way to get consistent, studio-quality results for headshots and portraits without the guesswork.
When you lean on these intelligent systems, you're not just delivering a folder of photos; you're handing over a unified, curated collection. That level of polish is what builds a reputation and keeps clients coming back for more.
Building Your Professional Photography Workflow
Putting all these techniques into a repeatable system is what really separates the pros from everyone else. A solid workflow isn't just about editing—it's the entire process, from the first client email to delivering the final gallery. It’s the backbone of your business, helping you manage expectations and nail the shot every single time.
This system actually kicks off well before you pick up the camera, starting with client consultations and creating mood boards. Think of it as a roadmap that gets everyone on the same page about the creative direction. After the shoot wraps, your workflow moves into the digital darkroom, where getting organized is everything.
Streamlining Your Post-Production Process
Let’s be honest, a clunky post-production process is a fast track to burnout. You can save yourself countless hours by getting your files organized right away. As soon as you upload from your memory card, sort those RAWs into a logical folder structure. A simple YYYY-MM-DD_ClientName format works wonders.
Next up is culling, which is just a fancy word for picking the winners. You have to be ruthless here. It’s far better to deliver 20 incredible photos than 80 pretty good ones. Look for tack-sharp focus, compelling composition, and authentic expressions. Flag your absolute favorites and move them into the editing queue.
Once you have your selects, it’s time for batch editing. This is a huge time-saver. You apply your core adjustments—like base exposure, contrast, and your signature color grade—to the whole set of images at once. This single step is what gives your entire gallery that consistent, cohesive feel. If you're looking to really master this, understanding how to generate consistent AI headshots for photographers offers a great look into automated consistency.
The diagram below shows how some of the newer AI tools are making this even easier, boiling the batch process down to just three steps.
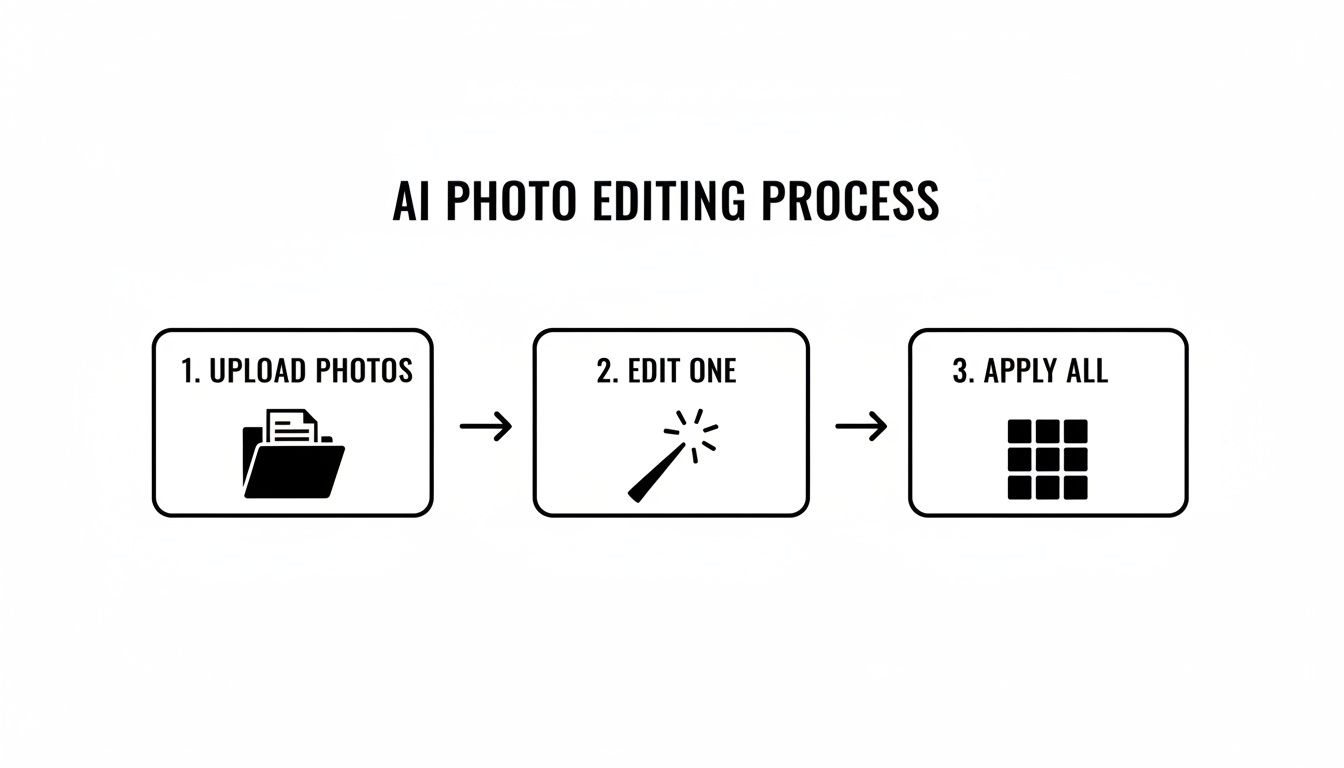
This simple model—upload your photos, perfect one reference image, and apply those edits to the entire batch—is at the heart of an efficient, modern workflow.
Delivering a High-End Client Experience
Your work isn't finished once the editing is done. The way you present your final images is a huge part of the client experience and shouldn't be an afterthought. Instead of just emailing a folder of JPEGs, use a dedicated online gallery platform. These services provide beautiful, branded layouts that make your work look and feel more valuable.
A professional workflow is more than just a process; it's a brand promise. It tells your clients that you are organized, reliable, and committed to delivering excellence at every stage.
This final polish has a real impact. It’s been shown that images with consistent, professional editing get much higher engagement—some marketing analyses have even reported an uplift between 10–30%. Your commitment to a refined workflow doesn't just make your photos look professional; it makes your entire business operate like one.
Common Questions I Hear All the Time
As you get deeper into photography, you'll find that new questions always come up. That’s a good thing—it means you're growing. I've heard these same questions from beginners and seasoned pros alike, so let's clear up a few of the most common ones.
Getting these fundamentals straight lets you focus your energy on what really moves the needle: your creative skills, not your credit card limit.
Do I really need an expensive camera to get pro-level shots?
Absolutely not. It's one of the biggest myths in photography. While a high-end camera gives you more technical flexibility—like better low-light performance or more megapixels—it doesn't guarantee a great photo. The real magic comes from understanding lighting, composition, and storytelling.
A new iPhone or a basic entry-level DSLR can produce breathtaking images when you know how to use it. Focus on mastering the craft first. The gear is just a tool; you're the artist.
What's the one thing I should focus on to improve my photos the most?
If I had to pick just one thing, it's light. No question about it. Light is the language of photography. It shapes your subject, creates the mood, and tells the viewer’s eye exactly where to look. Learning to see, shape, and control light will elevate your work faster than anything else.
Think about it: a simple portrait in gorgeous, soft light will always feel more professional than the most incredible scene shot in harsh, flat light. Once you master light, everything else falls into place.
A unique photography style isn't something you just decide on one day. It’s a discovery. It’s the visual signature that emerges naturally from all the creative choices you make, the subjects you’re drawn to, and the stories you can't help but tell.
How do I find my own unique photography style?
Your style isn't something you force; it's something you uncover through practice and exploration. A great starting point is to look at photographers you admire. Don't just scroll past their work—really study it. What is it that pulls you in? Is it the moody color palette? The dramatic shadows? The way they capture authentic expressions?
Try to recreate those elements in your own work. Experiment with different editing techniques, lighting setups, and compositions. Over time, you'll start to see a common thread in the images you love creating. That thread is the beginning of your unique style.
How can I make all the photos in a gallery look like they belong together?
This is all about consistency, and it's mostly handled in post-processing. The classic way to do this is by creating custom presets in software like Adobe Lightroom. You dial in a look you love and then apply that preset to all the photos from a shoot. It's a solid method, but it almost always requires you to go back and tweak each photo individually to get it just right.
This is where newer AI tools have completely changed the game. Instead of relying on a one-size-fits-all preset, you can give an AI a few examples of your best-edited work. The tool then intelligently analyzes your style—the colors, the contrast, the mood—and applies it consistently across an entire gallery. It's a much faster and more accurate way to deliver that polished, cohesive look that clients expect.
Ready to get that flawless, studio-grade consistency without the manual grind? Looktara uses advanced AI to learn your unique editing style and apply it perfectly across hundreds of photos in a snap. Ditch the hours of tedious adjustments and start delivering the high-end, cohesive galleries that will define your brand. Give it a try and see the difference for yourself at https://looktara.com.
Article created using Outrank