AI Headshot Plastic Skin Problem: Why Your Photos Look Fake and How to Fix It
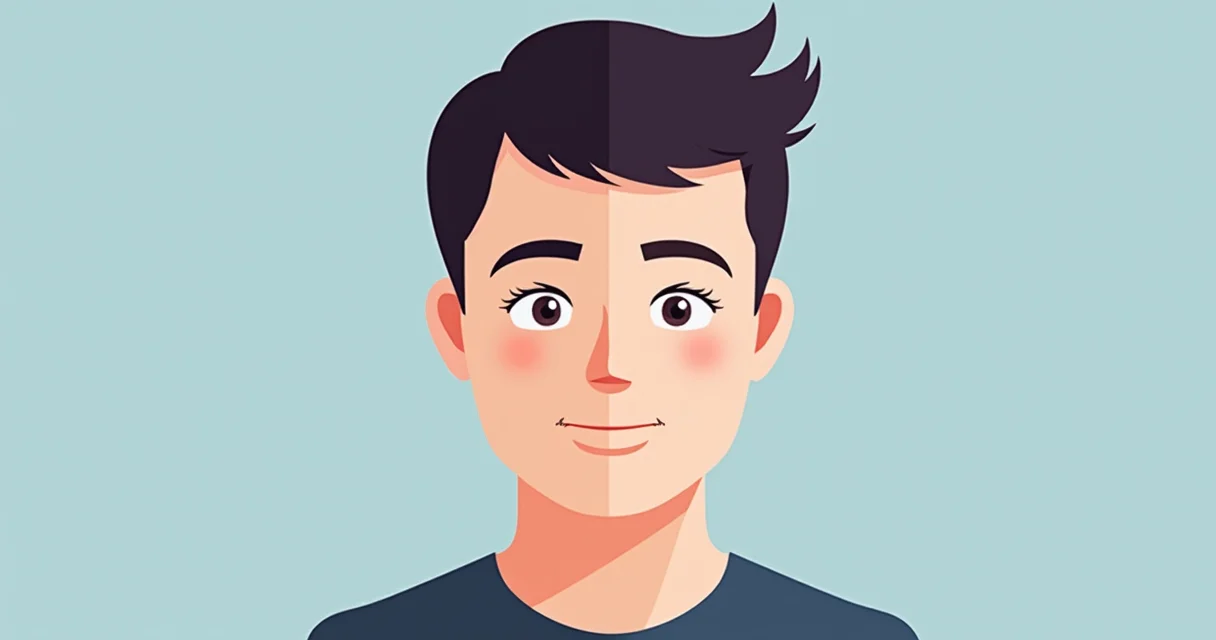
You upload your photos, wait a few minutes, and download your new AI headshot. It looks professional at first glance. But something's off. The skin resembles a mannequin more than a human being. Pores have vanished. Natural texture is gone. Welcome to the plastic skin problem that plagues AI-generated headshots.
This issue affects everyone from job seekers updating their LinkedIn profiles to entrepreneurs building personal brands. The technology promises quick, affordable professional photos, but delivers results that often look artificial enough to undermine credibility. According to competitor research, this remains the single most common complaint about AI headshot generators in 2025.
The good news? Understanding why this happens gives you the power to fix it. Whether you're choosing the right AI tool, adjusting your input photos, or tweaking prompts, you can achieve results that look genuinely human.
What Causes the Plastic Skin Effect in AI Headshots
AI image generators learn from millions of photos, and they've picked up some bad habits along the way. The plastic skin problem stems from how these systems interpret and recreate human faces.
Training data bias sits at the heart of the issue. Many AI models learned from heavily edited portrait photos, beauty advertisements, and stock images where skin was already smoothed. The AI assumes this artificial smoothness represents ideal human skin.
Neural networks also struggle with fine details at the pixel level. Skin texture involves incredibly subtle variations in color, shadow, and depth. When AI compresses this complexity, it defaults to averaging out details, creating that characteristic waxy appearance.
The Technical Breakdown of AI Skin Rendering
AI models process images through layers of abstraction. Each layer captures different features, from basic shapes to complex textures. Skin texture exists in the hardest-to-capture middle ground.
"AI systems optimize for what they perceive as 'clean' output, which often means removing the very imperfections that make skin look real."
The denoising process compounds this problem. AI removes what it considers noise from images, but natural skin texture often registers as noise to these algorithms. Pores, fine lines, and subtle color variations get smoothed away.
Cheaper AI tools typically use fewer processing layers and lower-resolution models. This explains why budget options produce worse plastic skin effects than premium alternatives.
Why Some Photos Trigger More Plastic Effects Than Others
Your input photos significantly influence output quality. Certain characteristics make the plastic skin problem worse:
- Overexposed lighting removes natural shadows that define skin texture
- Low-resolution uploads force AI to guess at details, defaulting to smooth surfaces
- Heavy makeup or filters on source images reinforce the AI's tendency toward artificial smoothness
- Direct flash photography flattens facial contours and eliminates subtle texture
- Compressed images from messaging apps lose critical detail data
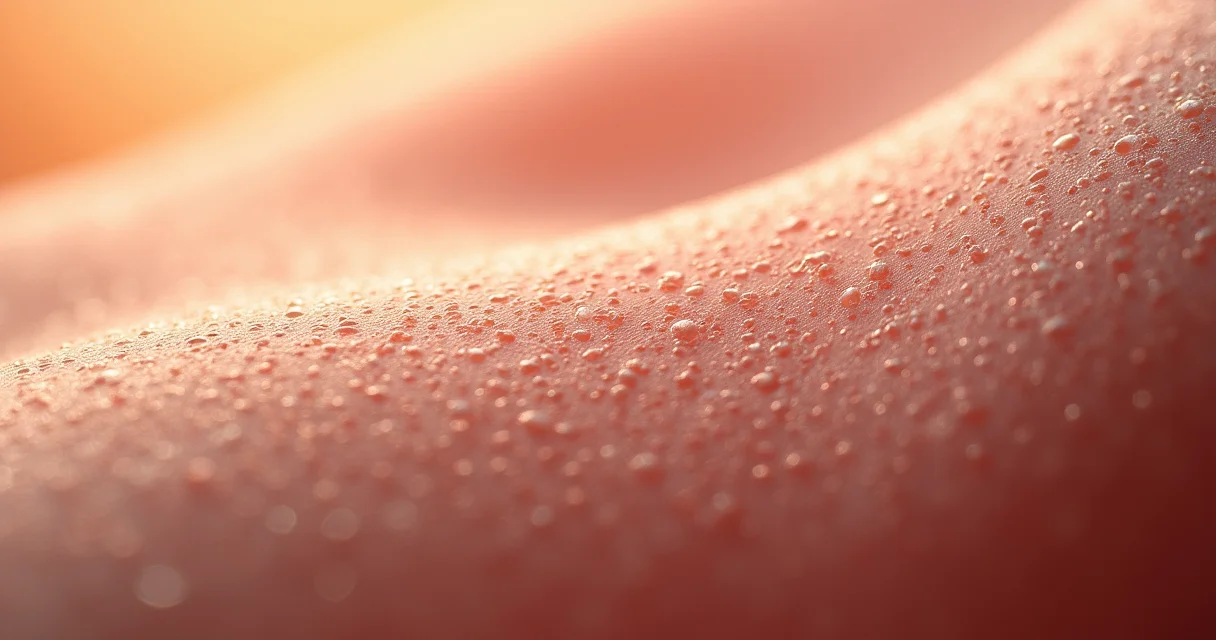
Photos taken in soft, natural light with visible skin texture produce dramatically better AI results. The AI has real information to work with rather than filling in blanks with smooth approximations.
The Five Dead Giveaways That Expose Fake AI Headshots
Spotting AI-generated headshots has become a necessary skill for hiring managers, clients, and anyone evaluating professional profiles. The plastic skin effect is just one of several telltale signs.
Recognizing these artifacts helps you evaluate your own AI headshots before using them publicly. If you can spot the fakeness, so can everyone else.
Visual Comparison: Real Skin vs AI Plastic Skin
Understanding the difference requires examining specific characteristics:
| Feature | Natural Human Skin | AI Plastic Skin |
|---|---|---|
| Pores | Visible, varied in size | Absent or uniform |
| Texture | Uneven, organic patterns | Smooth, airbrushed |
| Shine | Natural highlights on nose, forehead | Uniform matte or excessive glow |
| Color variation | Subtle reds, yellows, blues | Single tone, washed out |
| Fine lines | Present around eyes, mouth | Completely absent |
| Hair follicles | Visible on cheeks, chin | Missing or blurred |
The uncanny valley effect intensifies when AI handles the transition between different facial areas. Watch for unnatural boundaries where skin meets hair, eyebrows, or clothing.
Secondary Artifacts That Accompany Plastic Skin
Plastic skin rarely appears alone. Other common AI artifacts include:
- Doll eyes with perfectly symmetrical catchlights and unnaturally smooth irises
- Synthetic hair that looks painted rather than individual strands
- Teeth anomalies including merged teeth, missing molars, or overly uniform coloring
- Background inconsistencies like warped lines or repeated patterns
- Jewelry and accessories that melt into skin or contain impossible geometry
These combined artifacts create the overall impression of fakeness that damages professional credibility.
Choosing AI Headshot Tools That Minimize Plastic Effects
Not all AI headshot generators produce equally plastic results. Tool selection dramatically impacts output quality, and the differences between budget and premium options are substantial.
The best tools use advanced diffusion models trained specifically on high-quality portrait photography with preserved skin texture. They also offer adjustable parameters that let you control smoothing levels.
Premium vs Budget Tool Comparison
Here's how different tool tiers typically perform:
| Tool Category | Skin Quality | Customization | Typical Price |
|---|---|---|---|
| Free generators | Heavy plastic effect | None | $0 |
| Budget ($5-15) | Noticeable smoothing | Limited | $5-15 |
| Mid-range ($20-50) | Moderate texture retention | Some control | $20-50 |
| Premium ($50+) | Natural appearance | Full parameters | $50-100 |
Premium tools like those offered by specialized headshot services invest in better training data and more sophisticated models. The price difference often pays for itself in usable results versus wasted attempts.
Key Features to Look For
When evaluating AI headshot tools, prioritize these capabilities:
- Texture preservation settings that let you specify skin detail retention
- High-resolution output (minimum 1024x1024 pixels)
- Multiple image generation so you can select the most natural result
- Source photo quality analysis that warns about potential issues
- Revision capabilities without starting from scratch
Avoid tools that only show heavily processed sample images. Request or search for unedited output examples from real users before committing.
Proven Techniques to Fix Plastic AI Skin
Whether you're working with prompts in an AI generator or post-processing results, specific techniques reliably reduce the plastic effect. These methods come from professional photographers and AI artists who've solved this problem through extensive testing.
Optimizing Your Prompt Engineering
The language you use when generating AI headshots directly affects skin rendering. Specific phrases trigger better texture retention:
Effective prompt additions:
- "natural skin texture with visible pores"
- "soft window light with subtle shadows"
- "slight skin imperfections for realism"
- "subsurface scattering effect"
- "fine facial hair visible"
Phrases to avoid:
- "flawless skin"
- "porcelain complexion"
- "smooth"
- "airbrushed"
- "perfect"
Be specific about lighting conditions. "Soft north-facing window light" produces better results than "good lighting" because it tells the AI to include the subtle shadows that define natural skin texture.
Post-Processing Fixes for Existing AI Headshots
If you already have AI headshots with plastic skin, post-processing can partially restore natural appearance:
- Add subtle noise using photo editing software (0.5-1.5% monochromatic noise)
- Apply texture overlays from real skin photos at low opacity (10-20%)
- Increase local contrast in the mid-tones to emphasize existing subtle details
- Reduce highlights slightly to minimize that waxy shine
- Add slight color variation using a very subtle hue/saturation adjustment
These fixes work best on photos that aren't severely plastic. Heavily smoothed images may need regeneration with better inputs rather than post-processing.
Video Tutorial: Professional Techniques for Natural AI Skin
This tutorial demonstrates advanced techniques for fixing plastic skin in AI-generated portraits:
The video covers Photoshop techniques, prompt engineering, and tool selection for professional-quality results.
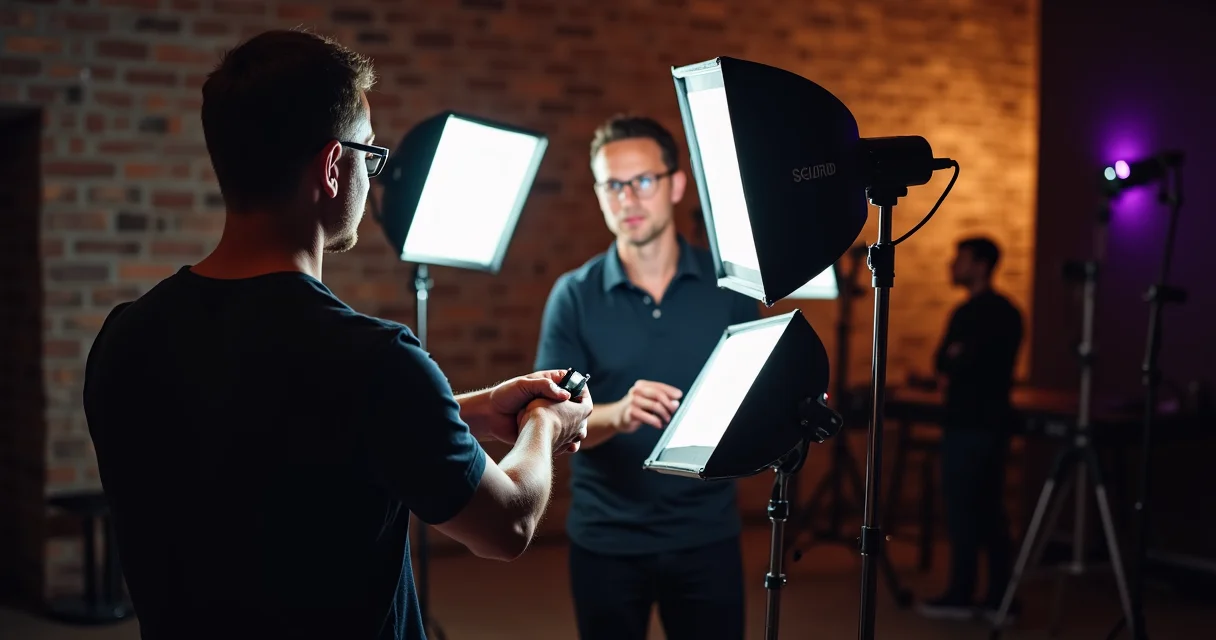
Preparing Source Photos That Produce Natural Results
Your input photos determine 60% of your output quality. Taking the right source images prevents plastic skin before it happens.
The goal is giving the AI enough real texture information that it doesn't need to fabricate smooth approximations.
Optimal Photo Specifications
Follow these guidelines for source photos:
- Resolution: Minimum 2048x2048 pixels, higher is better
- Format: PNG or high-quality JPEG (90%+ quality)
- Lighting: Soft, diffused natural light from a window
- Expression: Neutral or slight smile, relaxed face
- Makeup: Minimal or none; avoid foundation that covers texture
- File source: Direct from camera, not from social media compression
Avoid selfies with beauty filters applied. These remove the very details that help AI create natural-looking skin.
Lighting Setups That Preserve Skin Texture
Lighting dramatically affects how much texture information reaches your camera:
"The best lighting for AI headshot source photos is soft, directional light that creates gentle shadows across the face without harsh contrasts."
Recommended setups:
- Position yourself 3-4 feet from a large north-facing window
- Use sheer curtains to diffuse direct sunlight
- Turn off overhead room lights that create mixed color temperatures
- Avoid ring lights, which flatten facial features
The subtle shadows created by proper lighting give AI the dimensional information it needs to render natural-looking skin rather than defaulting to flat, plastic approximations.
Real-World Results: Before and After Comparisons
Understanding what's achievable helps set realistic expectations. The difference between poor and optimized AI headshots can be dramatic.
Competitor analysis reveals that users who follow proper source photo and prompting guidelines achieve usable results on their first generation 70% of the time, compared to 15% for users who upload random photos with default settings.
Case Study: Professional LinkedIn Headshots
A typical improvement workflow shows these differences:
| Stage | Skin Appearance | Professional Usability |
|---|---|---|
| Default generation | Heavy plastic, no pores | Not recommended |
| Optimized source photo | Moderate smoothing | Borderline |
| Optimized prompt | Visible texture, natural | Recommended |
| Post-processing | Nearly photographic | Professional quality |
The combined effect of better inputs, prompts, and light post-processing produces results that pass casual inspection. Most viewers won't identify these as AI-generated unless examining them closely.
Alternative Approach: Photorealistic AI Tools
Some newer AI tools specifically target the plastic skin problem:
These specialized tools train on different datasets and use modified algorithms that prioritize texture retention over smoothing. Results vary, but they're worth testing if standard tools consistently produce plastic effects for your face type.
Conclusion
The plastic skin problem in AI headshots isn't a fundamental limitation of the technology. It's a solvable issue that stems from training data, input quality, and prompt engineering.
Start by evaluating your current headshot needs. If you need results immediately, focus on selecting a premium tool with texture preservation features and optimizing your source photos. If you have time to experiment, test different prompt variations and compare results across multiple tools.
Your action plan:
- Take new source photos using the lighting guidelines above
- Upload at full resolution without social media compression
- Add texture-preserving phrases to your prompts
- Generate multiple variations and select the most natural result
- Apply subtle post-processing if needed
The professionals who get natural-looking AI headshots aren't using secret tools. They're applying these principles consistently. Your next AI headshot can look genuinely human if you give the technology the right information to work with.